UPSB v4
Tutorials Pending Approval / Al'EmBic Mod RT
-
Date: Sat, Nov 24 2012 12:21:51
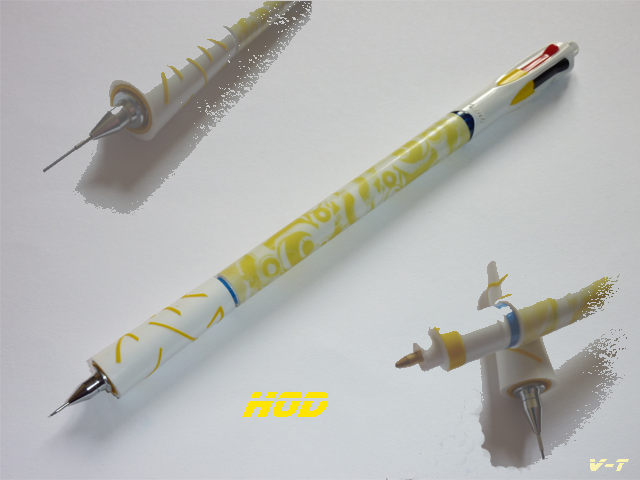
Hi. I made this mod during my second projet of modding, the Sephiroths. Hope you will enjoy it ! Photo :
Pens : - 1 Bic 4 Coulours, the news (Backcap, Inktubes) ; - 1 Emboss Dual Pen (Body, Bif cap, little cap [facultative]) ; - 1 Staedtler Graphite 925 (Front part, Grip, Tip) ; - 3 Tooth-pic (it's not a joke) ; - Inktubes ' Supergrip MP (go step 7) ; - Outsert transparent [facultative]. (10x4cm) Cost : 15-20$ Tools : - Knife ; - Circular file ; - X-Acto ; - Flat file - Electrical tape ; - Glue. Tuto :Spoiler
 http://i847.photobucket.com/albums/ab34/Voretex87/Sephiroth/HOD.png
Weight : 20 g
Length : 22cm (21,5 without little ball at the back)
Video explication :
http://i847.photobucket.com/albums/ab34/Voretex87/Sephiroth/HOD.png
Weight : 20 g
Length : 22cm (21,5 without little ball at the back)
Video explication :Spoiler
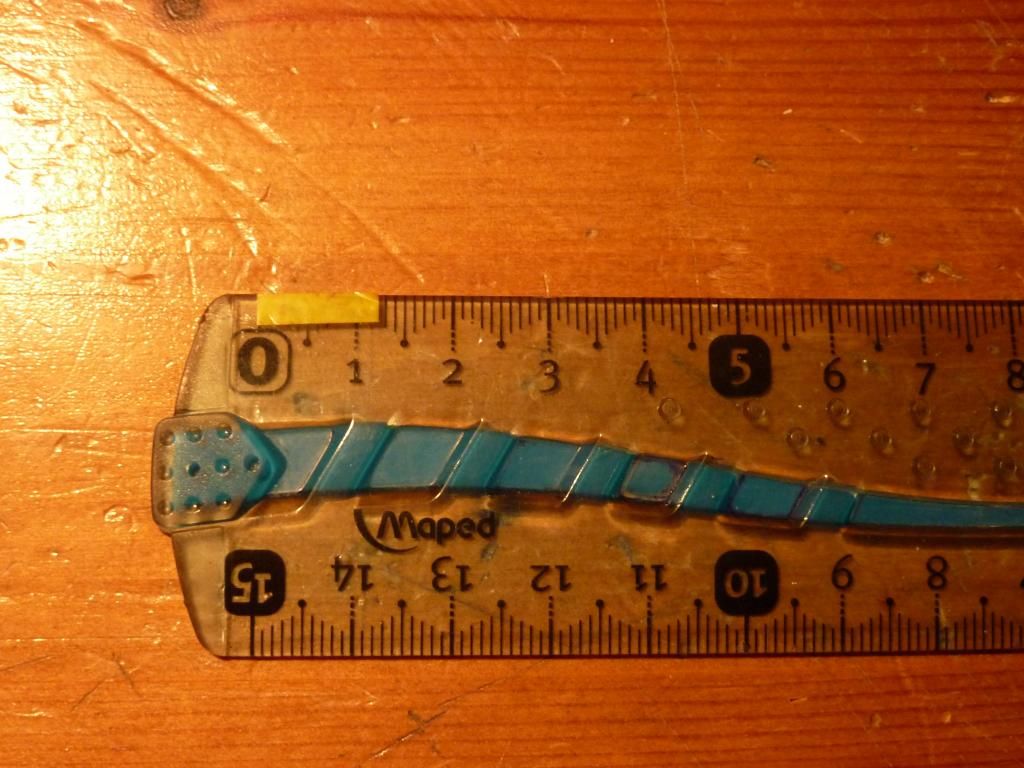
Step 1 :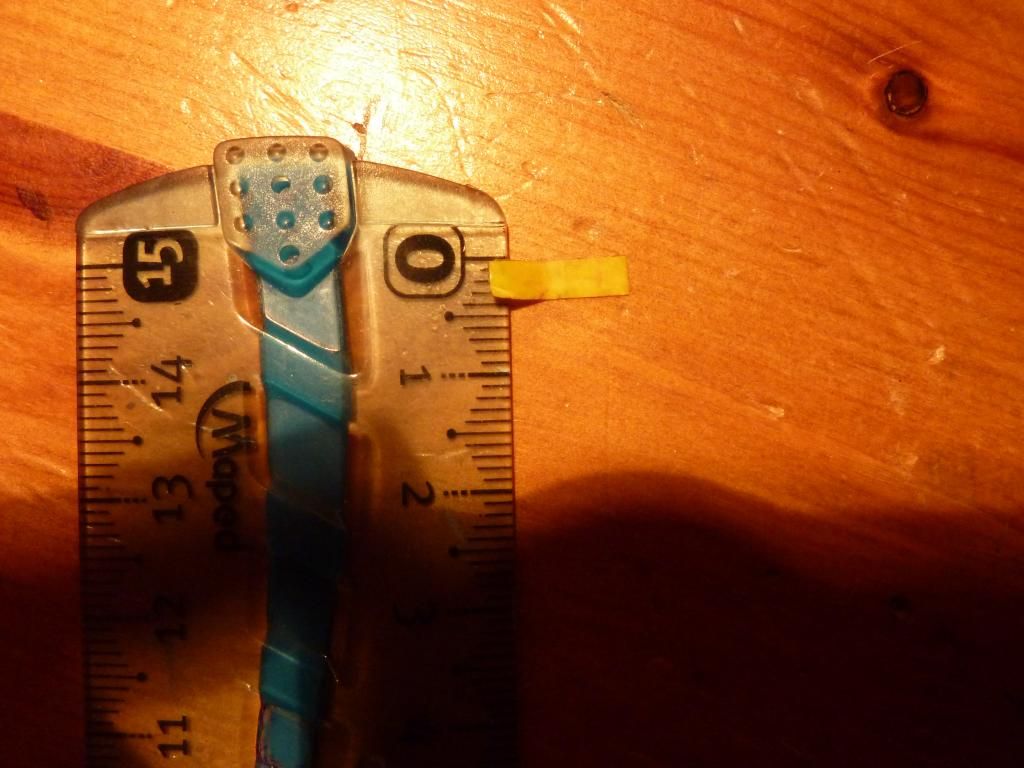
 http://i847.photobucket.com/albums/ab34/Voretex87/AL%20EmBic%20Mod%20RT%20Tuto/P1040422.jpg
http://i847.photobucket.com/albums/ab34/Voretex87/AL%20EmBic%20Mod%20RT%20Tuto/P1040410.jpg
Cut two small strips of electrical tape on these dimensions.
Step 2 :
http://i847.photobucket.com/albums/ab34/Voretex87/AL%20EmBic%20Mod%20RT%20Tuto/P1040422.jpg
http://i847.photobucket.com/albums/ab34/Voretex87/AL%20EmBic%20Mod%20RT%20Tuto/P1040410.jpg
Cut two small strips of electrical tape on these dimensions.
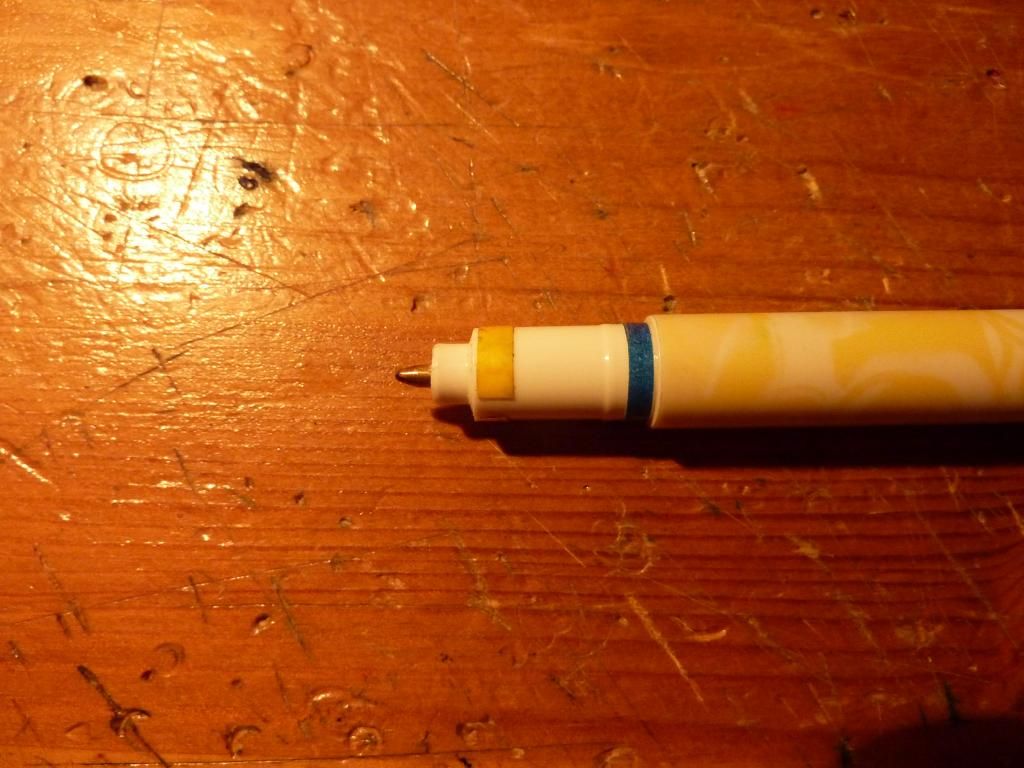
Step 2 :
 http://i847.photobucket.com/albums/ab34/Voretex87/AL%20EmBic%20Mod%20RT%20Tuto/P1040421.jpg
Place these two pieces as shown. Both sides "empty" between the two pieces must be the same length (question of aesthetics).
Step 3 :
http://i847.photobucket.com/albums/ab34/Voretex87/AL%20EmBic%20Mod%20RT%20Tuto/P1040421.jpg
Place these two pieces as shown. Both sides "empty" between the two pieces must be the same length (question of aesthetics).
Step 3 :
 http://i847.photobucket.com/albums/ab34/Voretex87/AL%20EmBic%20Mod%20RT%20Tuto/P1040411.jpg
Tape a strip of paper (colored preferably the same color as your backcap teb) 2mm wide at this level.
Step 4 :
http://i847.photobucket.com/albums/ab34/Voretex87/AL%20EmBic%20Mod%20RT%20Tuto/P1040411.jpg
Tape a strip of paper (colored preferably the same color as your backcap teb) 2mm wide at this level.
Step 4 :
 http://i847.photobucket.com/albums/ab34/Voretex87/AL%20EmBic%20Mod%20RT%20Tuto/P1040416.jpg
http://i847.photobucket.com/albums/ab34/Voretex87/AL%20EmBic%20Mod%20RT%20Tuto/P1040417.jpg
Empty the front inside of your emboss and cut the tip as pictured.
Step 5 :
http://i847.photobucket.com/albums/ab34/Voretex87/AL%20EmBic%20Mod%20RT%20Tuto/P1040416.jpg
http://i847.photobucket.com/albums/ab34/Voretex87/AL%20EmBic%20Mod%20RT%20Tuto/P1040417.jpg
Empty the front inside of your emboss and cut the tip as pictured.
Step 5 :
 http://i847.photobucket.com/albums/ab34/Voretex87/AL%20EmBic%20Mod%20RT%20Tuto/P1040409.jpg
Put the outsert transparent if you want and you have finished the body.
Step 6 :
Cut the clip of the backcap of your Bic.
Step 7 :
http://i847.photobucket.com/albums/ab34/Voretex87/AL%20EmBic%20Mod%20RT%20Tuto/P1040409.jpg
Put the outsert transparent if you want and you have finished the body.
Step 6 :
Cut the clip of the backcap of your Bic.
Step 7 :
 http://i847.photobucket.com/albums/ab34/Voretex87/AL%20EmBic%20Mod%20RT%20Tuto/P1040419.jpg
You need to select 3 colors on 4 because the inner part of your emboss body is not wide enough to receive them all
Length inktubes final, I don't know. But let each inktube BIC starts from the left of the screw on blue part. In fact to be more clear, the inktube supergrip mp which is connected to the bic inktube a toothpick should not exceed the backcap on your bic.
Check it holds well.
Step 8 :
Empty your large cap emboss thanks to knife and circular file. To check whether enough limed inside, it must be able to move the front of your Staedtler with grip (not too much).
Step 9 :
http://i847.photobucket.com/albums/ab34/Voretex87/AL%20EmBic%20Mod%20RT%20Tuto/P1040419.jpg
You need to select 3 colors on 4 because the inner part of your emboss body is not wide enough to receive them all
Length inktubes final, I don't know. But let each inktube BIC starts from the left of the screw on blue part. In fact to be more clear, the inktube supergrip mp which is connected to the bic inktube a toothpick should not exceed the backcap on your bic.
Check it holds well.
Step 8 :
Empty your large cap emboss thanks to knife and circular file. To check whether enough limed inside, it must be able to move the front of your Staedtler with grip (not too much).
Step 9 :
 http://i847.photobucket.com/albums/ab34/Voretex87/AL%20EmBic%20Mod%20RT%20Tuto/P1040414.jpg
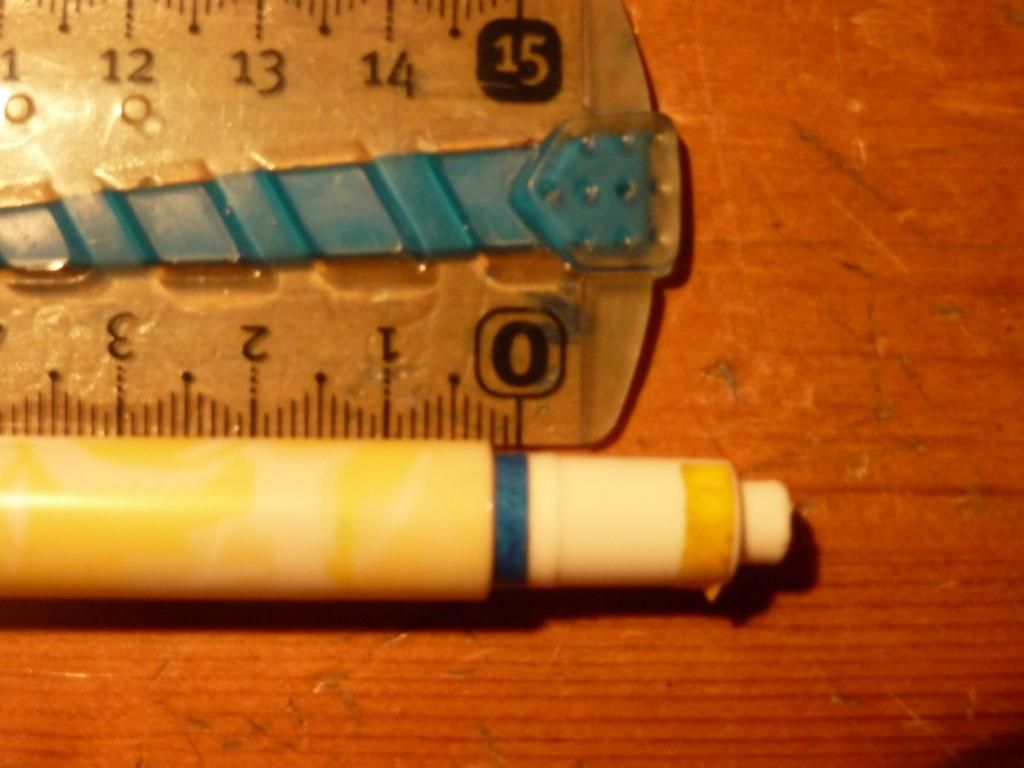
Take the front of your Staedtler without the grip and without the tip, and cut from the bottom of the screw. This part should measure 1.5 cm. Be careful cutting this part, it is important not damaging the Staedtler inktube of which is below. You must leave out 3-4mm.
Step 10 :
Cut your grip Staedtler 1.5 cm. Then glue it to your part of 1.5 cm before. Do the same with the grip and the inside of your emboss cap (see photo Part 9)
Step 11 [facultative] :
http://i847.photobucket.com/albums/ab34/Voretex87/AL%20EmBic%20Mod%20RT%20Tuto/P1040414.jpg
Take the front of your Staedtler without the grip and without the tip, and cut from the bottom of the screw. This part should measure 1.5 cm. Be careful cutting this part, it is important not damaging the Staedtler inktube of which is below. You must leave out 3-4mm.
Step 10 :
Cut your grip Staedtler 1.5 cm. Then glue it to your part of 1.5 cm before. Do the same with the grip and the inside of your emboss cap (see photo Part 9)
Step 11 [facultative] :
 http://i847.photobucket.com/albums/ab34/Voretex87/AL%20EmBic%20Mod%20RT%20Tuto/P1040412.jpg
http://i847.photobucket.com/albums/ab34/Voretex87/AL%20EmBic%20Mod%20RT%20Tuto/P1040413.jpg
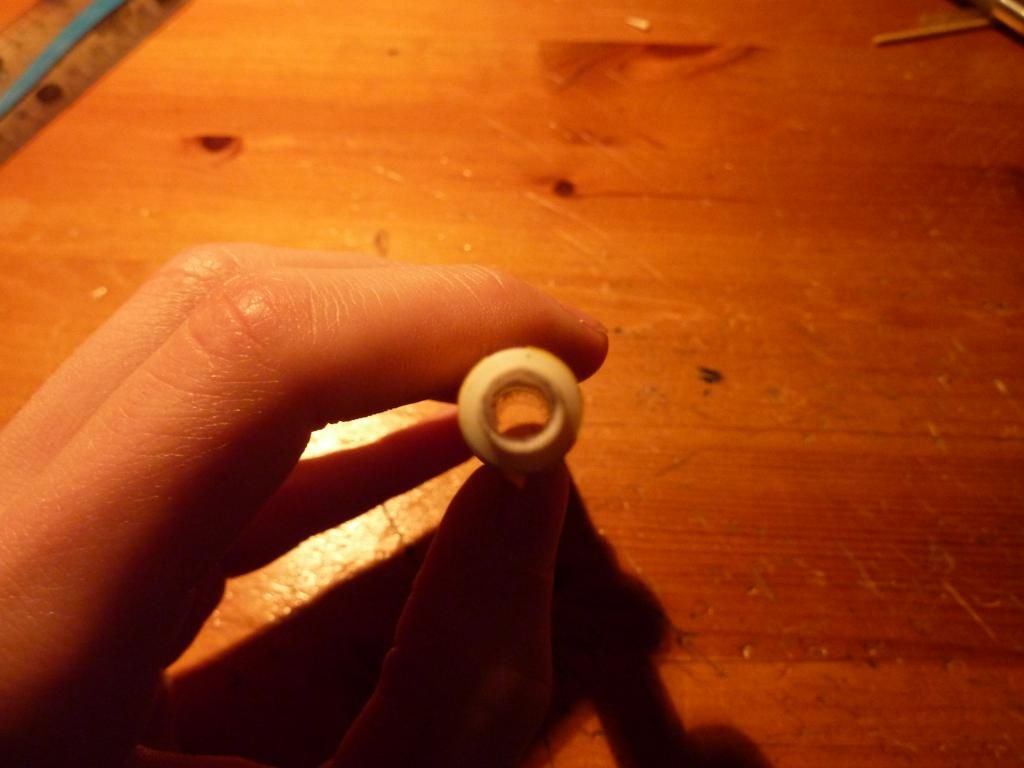
Cut the small cap of your emboss on 3mm and push the small part in front of the big.
Step 12 :
http://i847.photobucket.com/albums/ab34/Voretex87/AL%20EmBic%20Mod%20RT%20Tuto/P1040412.jpg
http://i847.photobucket.com/albums/ab34/Voretex87/AL%20EmBic%20Mod%20RT%20Tuto/P1040413.jpg
Cut the small cap of your emboss on 3mm and push the small part in front of the big.
Step 12 :
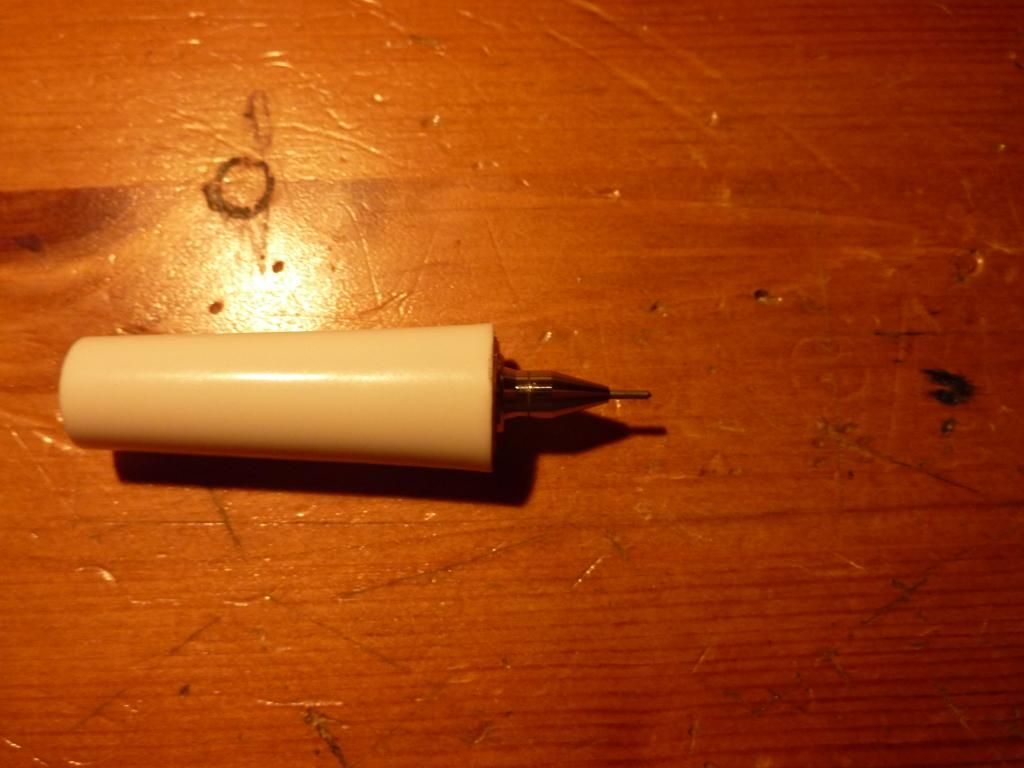 http://i847.photobucket.com/albums/ab34/Voretex87/AL%20EmBic%20Mod%20RT%20Tuto/P1040418.jpg
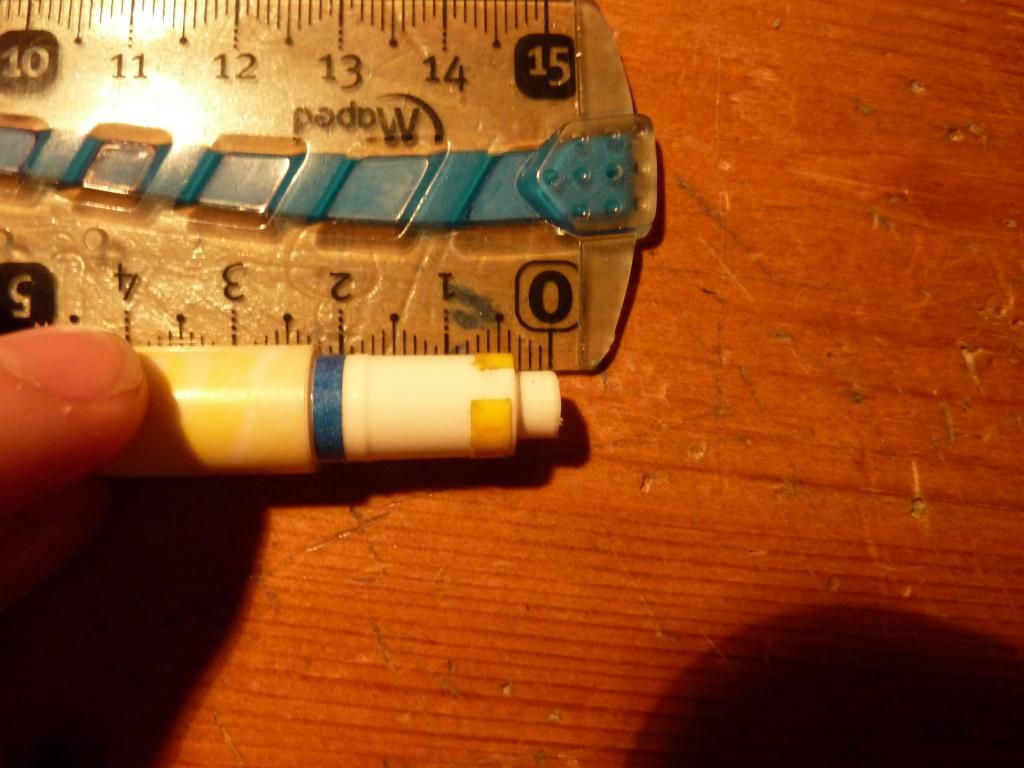
Screw the tip. You should have this.
Step 13 :
http://i847.photobucket.com/albums/ab34/Voretex87/AL%20EmBic%20Mod%20RT%20Tuto/P1040418.jpg
Screw the tip. You should have this.
Step 13 :
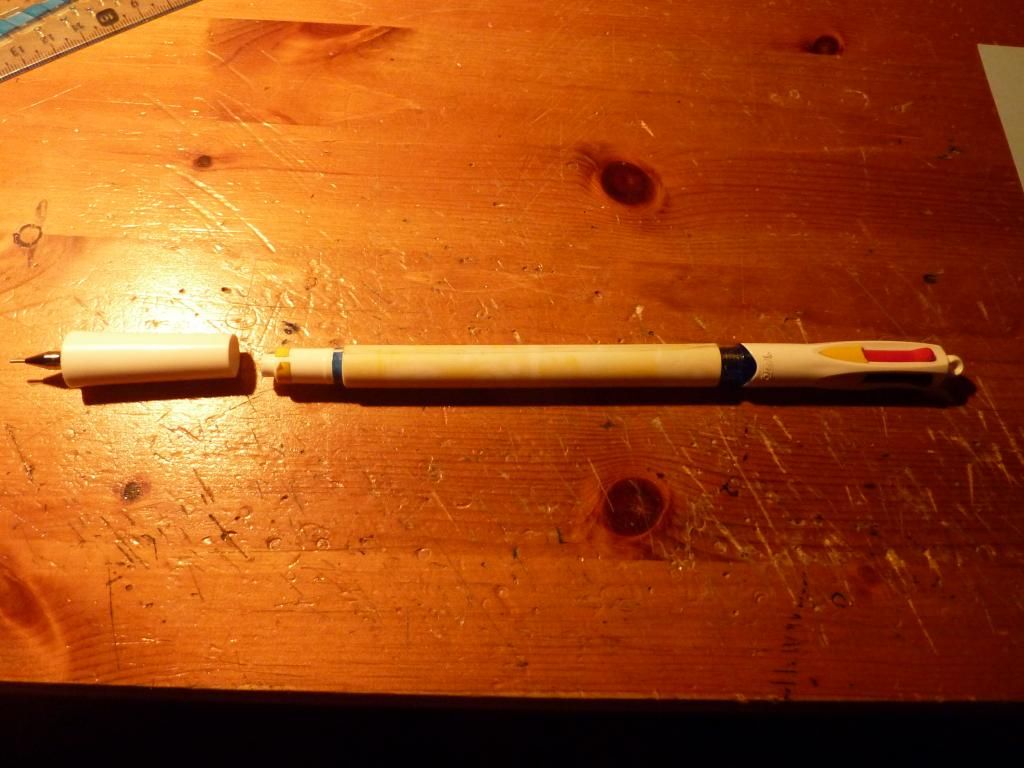 http://i847.photobucket.com/albums/ab34/Voretex87/AL%20EmBic%20Mod%20RT%20Tuto/P1040420.jpg
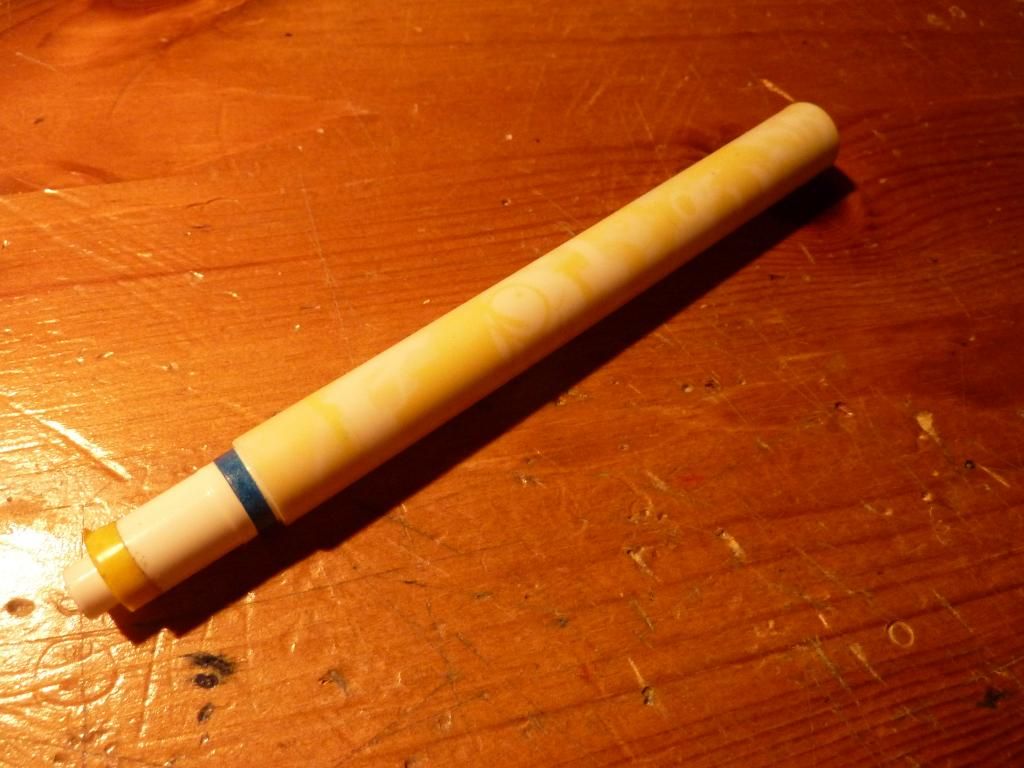
Do as the picture shown.
Don't hesitate to ask me questions about the tuto.
http://i847.photobucket.com/albums/ab34/Voretex87/AL%20EmBic%20Mod%20RT%20Tuto/P1040420.jpg
Do as the picture shown.
Don't hesitate to ask me questions about the tuto.Spoiler
[video=youtube;aWrqXejlXig]http://www.youtube.com/watch?v=aWrqXejlXig[/video] The electrical tape on the tip at the front allows you to hold the glass, and when you activate the mechanism for Staedtler not to leave the glass of the front part (ahem not easy to explain, but try without electrical tape and you will see yourself that the cap hold less). The blue strip can also retain the cap. -
Date: Sat, Nov 24 2012 12:24:22
nice very creative way to use the 4 color pen thingy xD
-
Date: Sat, Nov 24 2012 14:06:23
very nice
-
Date: Sat, Nov 24 2012 16:07:18
OOWOOWOWOWWO very interesting mod dude! tnx for sharing
-
Date: Sat, Nov 24 2012 17:50:56
From @Yaemgo: He is our Fel2Fram in penmodding.
-
Date: Sat, Nov 24 2012 18:04:14
Innovative